

Whether you're operating off-grid, offering disaster relief, or just looking for an all-around renewable energy option, mobile solar containers are hard to beat. These behemoths jam solar panels, inverters, batteries, and control systems into a shipping container that you can access anywhere.
But there's the rub—buying the system is only half the deal. The way that you deploy a mobile solar container efficiently can mean the difference between reliable, safe power… or frustration, power loss, or equipment failure.
So, what do you do to make setup simple, especially in the field? Dissect it with me.
Know Your Use Case Before You Touch a Wrench
Well, first of all: why are you deploying this unit in the first place?
It might seem obvious, but it's not necessarily obvious in the real world. Is the box running a remote clinic? A mine? Emergency shelters? Each application has different power loads, backup priorities, and usage time.
Ask yourself:
- What equipment will it power on a daily basis?
- Will utilization be constant or peak-load-based?
- Will loads change over time?
Having this data enables you to preconfigurate the system accordingly—battery depth-of-discharge controls to solar angle optimization.
Scout and Prepare the Deployment Site
Inspect the exact site location prior to delivery of the container. Efficiency is not just about electronics—design counts, too.
Look for:
- Maximum sun exposure(no trees, no nearby buildings)
- Flat, solid ground (to avoid shifting or tilting)
- Drainage gutters(so rainwater does not collect under the container)
- Cable route-safe areas(to avoid tripping or damage)
In dusty or flood zones, elevate the container slightly above the ground using steel blocks or treated lumber.
Align the Container for Optimal Solar Gain
It's not just "face it south and forget about it." Solar angle optimization matters.
Here's how to do it effectively:
- In the Northern Hemisphere, face panels true south
- In the Southern Hemisphere, face true north
- Tilt angle = your latitude ± 10° (summer or winter priority depends)
- Use a compass + inclinometer (apps can work too) to double-check panel angle
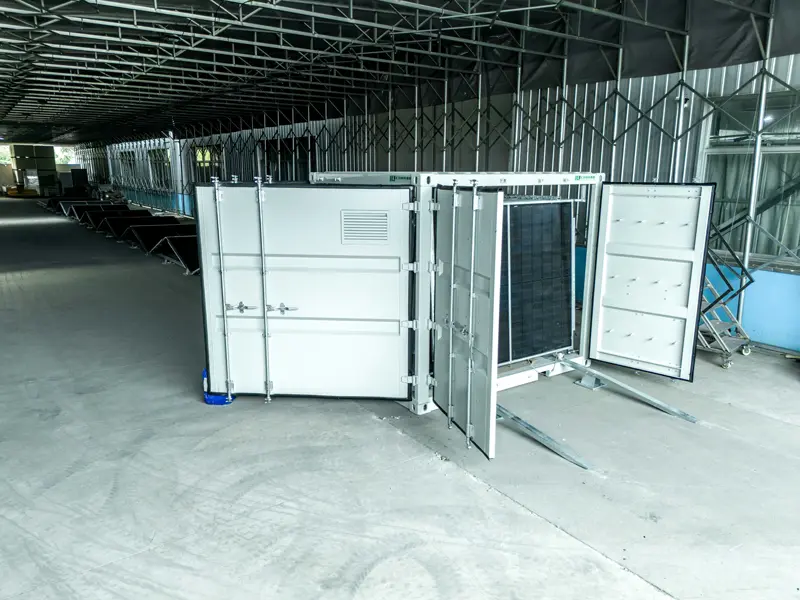
Certain mobile enclosures—like the LZY-MSC1 Sliding Mobile Solar Container—feature foldable and adjustable panel rails, allowing for quick and precise alignment even in tough environments.
The short-term, prioritize rapid assembly; but long-term, anchor and get it aligned correctly—it's worth it in terms of efficiency.
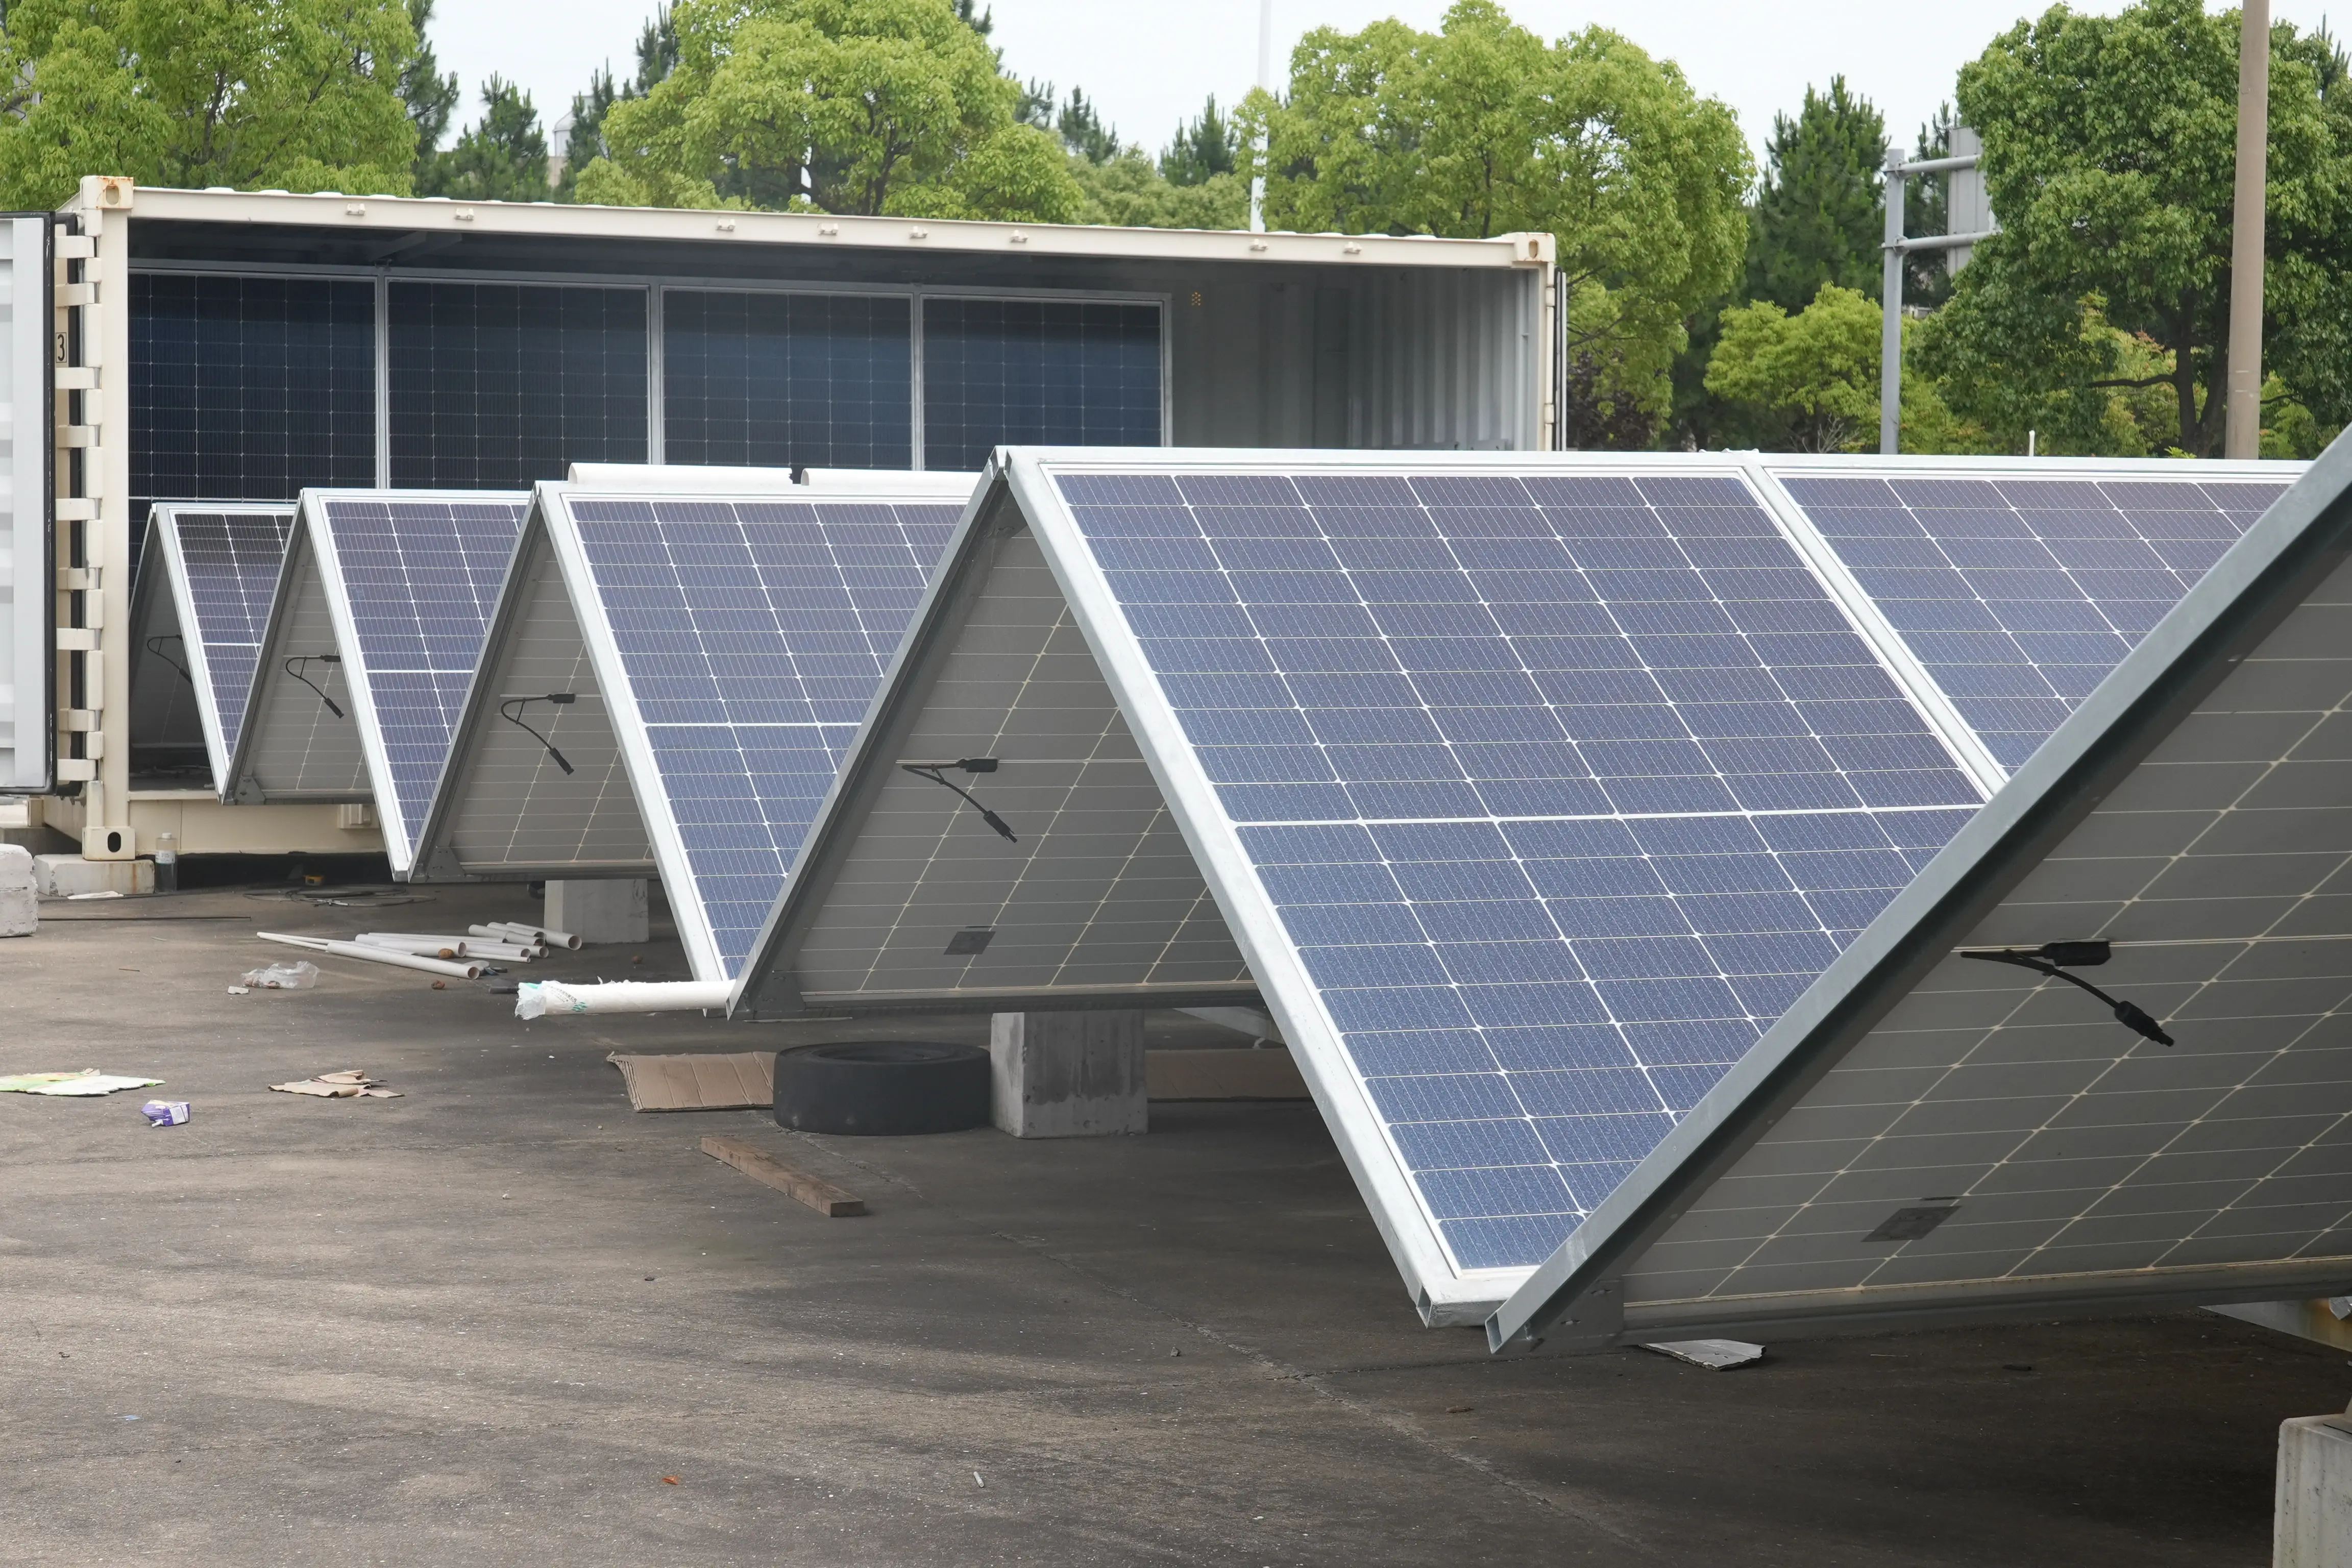
Unfold and Secure the Solar Panels
In the case of your container if it has fold-out solar arrays, handle it with special care.
Checklist:
- Unfold all panels fully and lock them in place
- Inspect for panel alignment and tilt consistency
- Verify cables for pinching, edges, or abrasion
- Shield all wiring with UV-rated ties or conduits
- Double verify panel junction boxes are sealed and vertical
One out-of-alignment or shaded panel can take the whole array down. Take your time here.
Connect Batteries and Verify BMS Status
If your container comes with pre-installed batteries (most do), your job is to verify they're healthy and correctly configured.
- Power on the Battery Management System (BMS)
- Look for warning signs: overvoltage, undervoltage, temperature failures
- Check state of charge (SOC) is 50–70% before full deployment
- Balance cells if needed
- Check grounding continuity between batteries and container chassis
This is your final chance to pick up faults before full load is applied. Some systems provide remote monitoring—enable this now if applicable.
Install the Inverter and EMS
Don't plug and pray. Properly setting your inverter and Energy Management System (EMS) is critical to efficiency of operation.
Minimum configuration:
- AC output voltage and frequency settings (configured to local appliances)
- Load priority (critical vs. non-critical)
- Generator auto-start logic (if hybrid system)
- Time-of-use scheduling or solar charging windows
- Safety limits: overcurrent, fault trip values, restart timers
Some EMS systems offer remote control via GSM or satellite—have that installed up front if your site is remote.
Test With Load—Then Watch for 24 Hours
Once everything is installed, perform a slow load test. Don't flip the switch on all of them at once.
- Start with lighting and low-load equipment
- Phase in larger equipment (e.g., refrigerators, pumps)
- Watch inverter response time and voltage stability
- Review EMS logs and check for power spikes or battery dips
- Let the system run through one full charge-discharge cycle
Is it silent? Stable? Responsive? You’ll find out in the first 24 hours.
Common Setup Mistakes That Kill Efficiency
Even seasoned teams can overlook the basics. Watch out for:
- Panels partially shaded during peak hours
- Batteries not charged before full load
- Inverter fans blocked by dust or improper clearance
- Wi-Fi or GSM antennas disconnected
- Shallow-driven grounding rods (especially in dry soil)
Any of these may reduce output 5–20%—or worse, shorten component life.
Real-World Example: Southeast Asian Remote Village
A health NGO deployed a 20-ft mobile solar container in a flood-affected village in Laos.
The unit consisted of:
- 8 kW of solar
- 30 kWh LiFePO₄ batteries
- EMS with GSM remote access
- Fold-out tilt-adjustable panels
They followed the instructions for installation set forth above and were installed and operational in 3.5 hours. Power was used for clinic lighting, refrigeration, water purification, and recharging phones for over 100 residents. System uptime at day 60? 100%.
Questions Worth Asking Before Setup Day
- Will topography allow truck or forklift delivery?
- Do you need concrete pads or anchoring?
- Is permitting or inspection by local authorities required?
- How many personnel do you need to deploy the panels safely?
- Does your team have PPE (gloves, goggles, grounding checker)?
The smoother the logistics, the better your technical setup will go.